UNDERSTANDING SOLVENTS AND OIL PAINTING MEDIUMS
Another new week ahead of us and we are already settled into March 2021. Hard to believe but I think this year is going to fly… So I got stuck into spring cleaning last week and came across notes a psychic medium did up for me many years ago. She predicted that both myself and the company I worked for at the time would go through a death and rebirth phase, I would change career, become involved in the Arts and Crafts movement, and start my own business – Emily McCormack-Artist. At the time, I laughed. But she was bang on, as several years later, the company went into examinership and restarted anew. I eventually jacked in a moment of “…I can’t put up with this crap anymore…”, ended up on the dole and began a new journey that led me to blogging on Oil Painting. I always wonder though, with these types of predictions, are they predestined or are they just ideas that are planted in your head and you then just subconsciously go about bringing them to fruition?
That is this week’s thought – so on to actual mediums of the liquid kind…
In this Oil Painting Blog, I will be taking a look at both Solvents and Oil Painting Mediums. I will be keeping things very simple to get you started. However, we will revisit mediums again in future blogs as we delve deeper into your Oil Painting Techniques and Practice. As always, I am not affiliated with any brands, stores, or persons I may or may not mention and your use of any of these products, links and the like are your own risk and it’s up to you to do your research/homework before you use them. This is just my opinion and experience.
FIRSTLY SOLVENTS
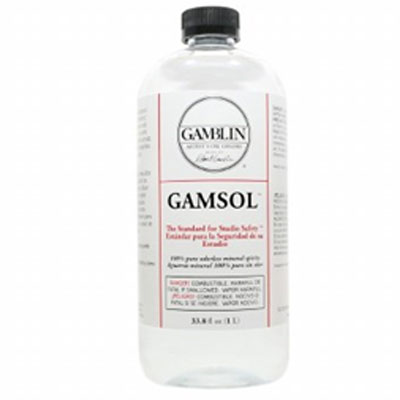
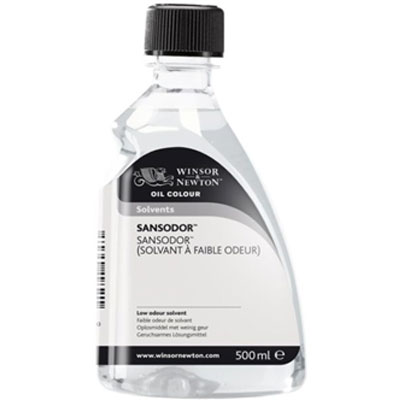
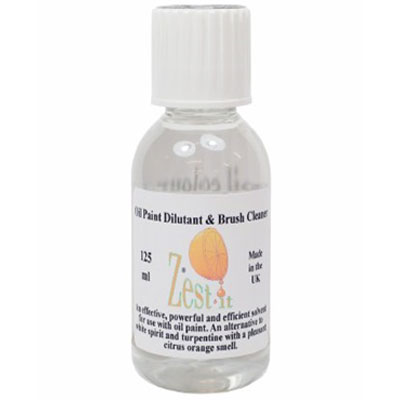
Years ago, when I was doing art for the Junior Certificate Exam, you used turpentine or white spirits. However, today, thankfully things have since moved on and here at the Painting Workshops, we use 100% odourless mineral spirits which are less hazardous and have been refined to remove that very distinctive odour of turpentine and white spirits which used to cause me a few headaches if I was working in the studio for long periods of time. I also found it extremely hard on my hands, especially the sides of my index finger, where I balanced the Painting Brush, the skin there was prone to cracking and peeling. This stopped when I began using the odourless solvents.
Typical examples of odourless/low odour solvents include: –
,
(Images from K&M Evans Art Store)
Many artists still use turpentine, but if you do, make sure your studio is well ventilated and read up on its literature including how to use, store and dispose of it.
WHAT DO I DO WITH SOLVENT?
Solvent is used to basically cut or thin your oil paint and mediums and to clean your brushes (which we will look at in another blog).
I use solvent to mix with transparent layers of oil paint to do a quick initial tonal wash on the canvas or board to basically get rid of the stark white.
We will be taking a more in-depth look at toning the canvas/board in future blogs, but for now, it’s as simple as just mixing an oil paint such as a burnt sienna, yellow ochre, or ultramarine blue (which are all transparent) and your solvent until it’s a fairly fluid mix and applying to the whole canvas/board akin to the paint swatches as shown below: –
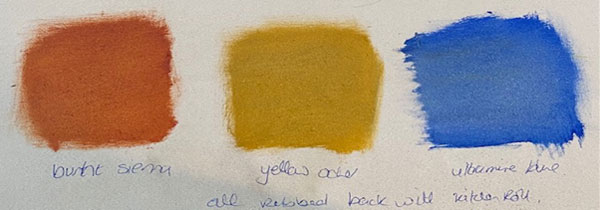
The more solvent you use the more transparent the paint coverage will be. Just make sure if you are using a yellow ochre or any yellow colour that you dry it back with kitchen roll or leave for a day or 2 to dry because if you are going to put a blue on top your lovely yellow colour could turn green.
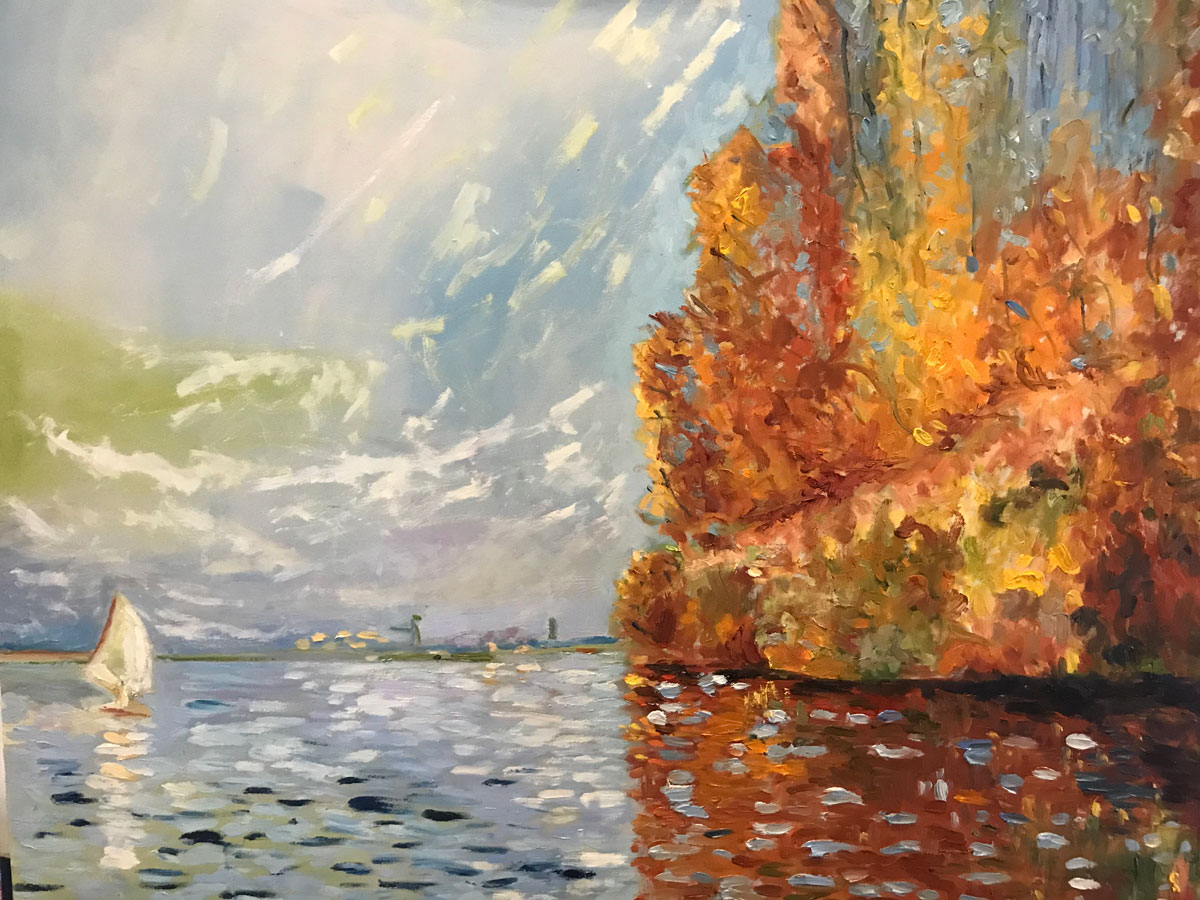
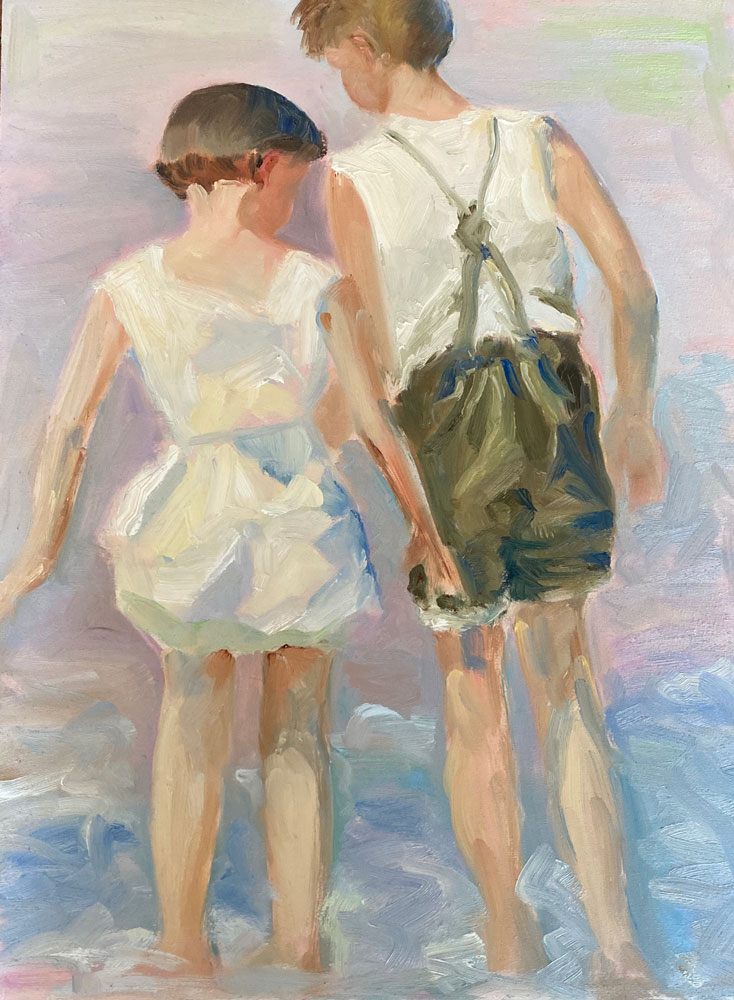
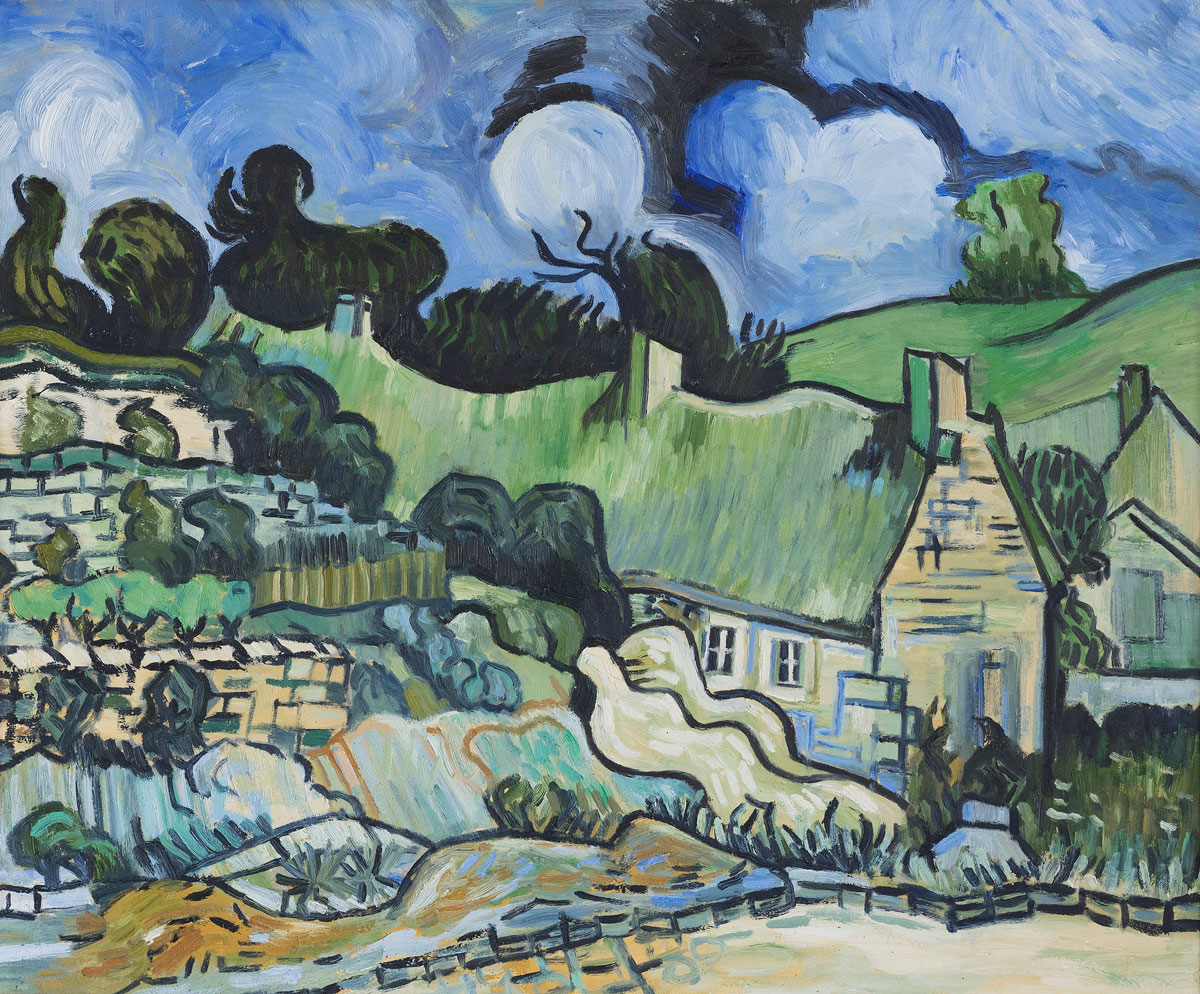
In the following Workshop Paintings, you will see that really any colour can be used to do the initial background colour it does not have to be transparent or very bright. Indeed, I have often used a very dull matt black to tone a canvas. In these Workshop Paintings, the initial toning layer thinned with solvent included blue, red and yellow ochre as follows: –
Above, I set out the pro’s of using odourless mineral spirits. However, the cons of using same, are dealt with in a particularly good transcript of a recent video clip by Mary Gilkerson, an American artist, which is entitled “How to use oil paint more safely”. It’s well worth a read as she advises not to use odourless mineral spirits, given that you can’t actually smell them when they build up and also outlines how to eliminate the use of solvents altogether. She also provides a list of alternative paint colours making it possible to eliminate cadmiums, cobalt’s and nickels which contain toxic metals, from your Studio Practice.
The most important thing highlighted to me is that when you are starting your Craft to ensure you a) have an extremely well-ventilated studio or working space, b) store and use your solvents safely/in accordance with manufacturer’s instructions and c) empty your bin at the end of every painting session to eliminate any possible fire hazards.
Another alternative to solvents is water mixable oil paints. Dennis Perrin Fine Art, another American artist creates these amazing floral and fine art paintings using water mixable oil paints and has done so for nearly 20 years.
OIL PAINTING MEDIUMS – APPLICATION
To take the fear out of mediums, all you do is pick up some paint from your initial pile of that colour on your palette, place it down in the middle somewhere. Pour out a little medium into a small separate container and then using your brush dip it into the medium and mix this into your paint until you get the consistency you want and then apply it to your painting. If its wrong just wipe or scrape it off – no harm done.
TYPES OF OIL MEDIUMS OUT THERE
The general or most commonly used oil painting mediums include Linseed Oil, Liquin and Walnut Oil.
You can also get meglips, burnt plate oils, stand oils, blending and glazing mediums, impasto and cold wax mediums, solvent-free gels, damar varnishes and a product called Maroger Painting Medium. But to keep it simple, in this blog, we are only going to look at the first three, linseed, walnut and liquin.
We will be looking at the other mediums in other blog posts but if you want to get stuck into it now Jacksons Art have a very good blog on “How oil painting mediums work” by Julie Caves which was posted on 14 August 2020.
Here at the Workshops, we have stopped using them for beginner students as they tended to load on the medium on the initial layers and end up with an unworkable painting, while other students doing the same painting and omitting the medium could continue with the painting for the rest of the session. So I just stopped using them in the workshops and indeed in my own studio for the most part. I still from time to time use a 50/50 mixture of Gamblin’s Gamsol solvent and Galkd which is a really nice medium combination that I was trained to use. But for the last few years, I tend to just use the paint neat or use a dip of solvent.
The idea of an oil medium is just to give more movement and body to your paint as you build up the layers on the painting, add an additional sheen to the paint and speed up or slow down the drying time of the paint.
LINSEED OIL
Traditionally, Linseed Oil has been used since 1400’s. It is made from linseed and you can get cold-pressed (which is typically a better quality of oil) or refined (which has gone through a heated extraction process), both slow down your drying time. So, remember the “Slow over Fast Rule” / “Fat over Lean Principle” have your faster drying (thinner) layers below your slower drying (fatter) layers. Also, be conscious of the yellowness of linseed oil, which can sometimes over time, result in the yellowing of your initial paint colours.
LIQUIN
Liquin is a faster drying medium and does not or should not cause any yellowing akin to Linseed oil. If you are a beginner use caution with the amount of liquin you use to mix the paint because if you use too much your painting can and generally will end up a gloopy mess which you cannot do anything with until you let it dry for a few days.
WALNUT OIL
Walnut Oil is a natural alternative to linseed oil, stand oils and solvents. It can be a clearer and glossier medium to work with and can also be used to clean paintbrushes. Other clear mediums include Poppy Oil and Safflower oil.
Professional artists have been using Walnut oil for centuries and for the history buffs out there, Giorgio Vasari in his book “Lives of Artists” wrote in 1550:-
“…grind the colors with walnut or linseed oil, though walnut oil is better because it yellows less with time..”
You can get a translation of this book which has been split into two volumes, Volume I, Volume II, from the National Gallery of Ireland Shop.
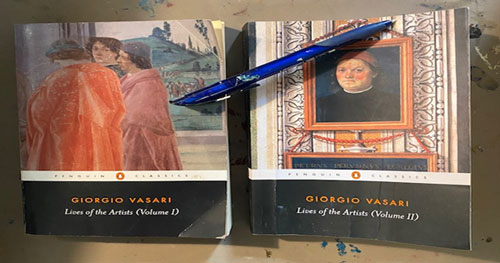
I found both books useful when researching the notes for our Workshop break-out sessions where we would have a well-deserved cuppa after the group had completed their weekly pastel drawing and had set up and started their next oil painting.
In these break-out sessions, I would bring the group through the history of Art, from prehistoric times to current day art and artists. We also looked at various art movements and schools across the globe and painting techniques and materials. However, these were suspended early last year, to keep everyone safe during this COVID 19 pandemic.
NEXT WEEK we will have a look at Easels…
Emily McCormack
March 2021
Become an insider, subscribe to receive
Stunning previews of new art, discounts, painting tips and early booking for painting workshops.

